RECIPE with RIVERFORD: Christmas pickles
Torquay Herald Express
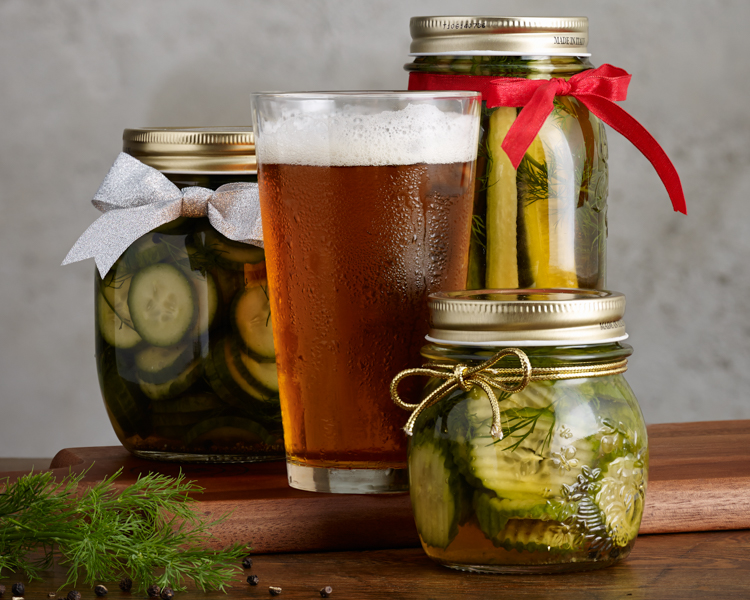
YOU can impress the family this Christmas with Riverford’s homemade pickles and sauerkraut – a tasty addition to festive cheese boards and cold meats for Boxing Day lunch, or great to give as a gift.
Preparation is key when it comes to Christmas, and these two recipes can be made a couple of weeks before the big day, involve minimal effort and pack an impressive punchy flavour.
They are written by chef Jon Guest, from The Riverford Field Kitchen Restaurant near Totnes, where seasonal organic veg is the star; guests enjoy a feast of freshly-picked seasonal produce from the farms surrounding fields.
Sauerkraut
1 large white cabbage
Sea salt
Caraway seeds
Juniper berries
Trim the outside leaves from the cabbage and put to one side. Finely slice the cabbage and weigh. For every 1kg of sliced cabbage add 20g of sea salt and massage together for 5-10 mins – the cabbage should get quite wet. Add ½ teaspoon of caraway seeds and a few juniper berries. Pack tightly into a jar or crock and place one of the outer cabbage leaves on top, and then a weight on top of that. The liquid should cover the cabbage and weight completely. If there is not enough liquid, make a 2 per cent brine (20g salt to 1litre of water) and add enough to cover. During the first week open the lid to release some of the gas. It should be ready to eat after 1-2 weeks but can be left longer to let the flavour develop. Leave the weight in until you’re ready to eat.
Brine pickles
A selection of fibrous veg such as carrots, onion, cauliflower, radish etc.
Sea salt
Mustard seeds
Garlic
Bay leaf
Cut the vegetables into bite sized pieces and pack tightly into a crock or several jars. Next, make a 2 per cent brine (20g of salt to 1L of water). Pour in the brine to completely cover the vegetables and screw the lid down tightly. Leave in a warm place for 7-10 days. After about 7 days try tasting the odd piece – if they are not ready they will taste raw, if they are ready they will be crunchy but with a sour taste, and if they have gone too far they will be soft and taste rotten. When the pickles are done, keep them in the fridge, where they will last 2 to 3 weeks. The pickles should be nice and sour.
Tamari (gluten free soy sauce) pickles
As above but instead of using a brine use a 1/3 tamari and 2/3 water.