Pickle some garlic for the flavor of fall
By Brian Henry, The Peterborough Examiner
We commonly associate pickles with cucumbers, but pickles are any foods that have been preserved in a seasoned brine or acetic acid. The pickle menu includes such foods as mangoes, mushrooms, eggs and pig’s feet. I have tried pickled elk and moose meat as well.
The source for acetic acid is vinegar. Standard white vinegar is 5% acetic acid, which at this strength creates an acidic burning sensation to our taste buds and a startling pungency to our olfactory senses within our nose.
When pickling we add an equal amount of water in relation to the vinegar. This reduces the concentration of the acetic acid by almost half, creating a more palatable taste and allows other flavours to come to the forefront without diminishing the effects of vinegar as a preserving agent. In some pickle recipes the addition of sugar and spice helps off set the slightly sour and acidic bite attributed with vinegars
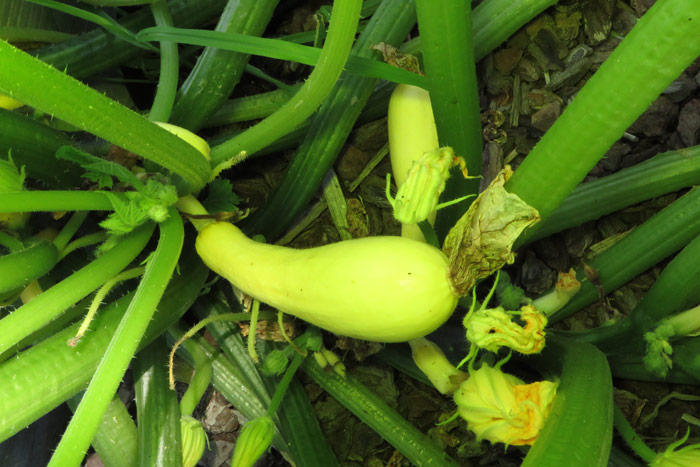
As many local crops are coming into season some of us begin to save the flavours of summer and the garden by curing and preserving foodstuffs for our pantry.
Three commonly used ingredients for creating pickles are cucumbers, dill and garlic. This trilogy of ingredients ironically is harvested within close proximity of each other, allowing us to create garlic dill pickles.
Fruits and vegetables can be preserved for a two- to four-year shelf life through pickling. The pickling process kills off all of the living tissue and deactivates the naturally present enzymes creating an environment that will not support any microbes and their associated toxins.
To maintain crispness of foods the use of unrefined sea salt, more commonly known as pickling salt, is introduced to help reinforce cell wall pectins. In other recipes we will find the use of alum or calcium hydroxide to maintain the high level of acidity for cell wall stabilization. With all of the scientific processes aside pickling is a process that preserves the simple flavours of foods.
A word of caution if you choose to try the following recipe: open a window when boiling or simmering vinegar as it can cause the acetic acid in the vinegar to take flight in the steam released from your cook pot, and avoid inhaling the fumes as it will take your breath away.
This recipe is perfect for packing up and taking back to the hunting camp.
PICKLED GARLIC
- 1 1/2 lbs peeled garlic cloves cut in half
- 1 1/2 cups white vinegar
- 1 1/2 cups cider vinegar
- 1 cup water
- 1 cups granulated sugar
- 1/3 cup brown sugar
- 1 tbsp. pickling salt
- 2 bay leaves
- 10 peppercorns
- 5 whole allspice
Method:
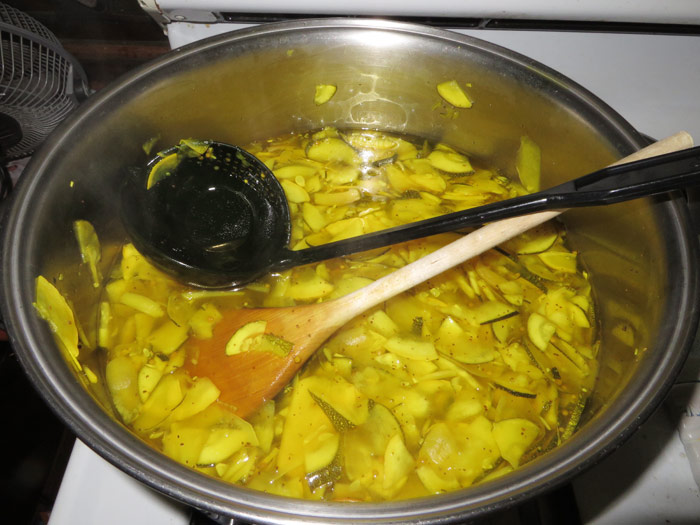
Combine vinegars and sugars in a non-reactive pot and bring it to a boil over medium-high heat stirring until the sugar dissolves. Add the garlic and spices. Let the mixture return to a gentle boil and let it boil for 5 minutes.
Transfer the hot garlic and pickling brine into clean, sterilised jars and cover tightly. Place jars in the refrigerator to allow the flavours to develop for at least 24 hours before digging in. Keep the pickled garlic stored in airtight containers in the refrigerator for 4-6 weeks.
Lakefield area chef Brian Henry owns and operates Chef Brian Henry Private Chef Services: www.chefbrianhenry.com.