
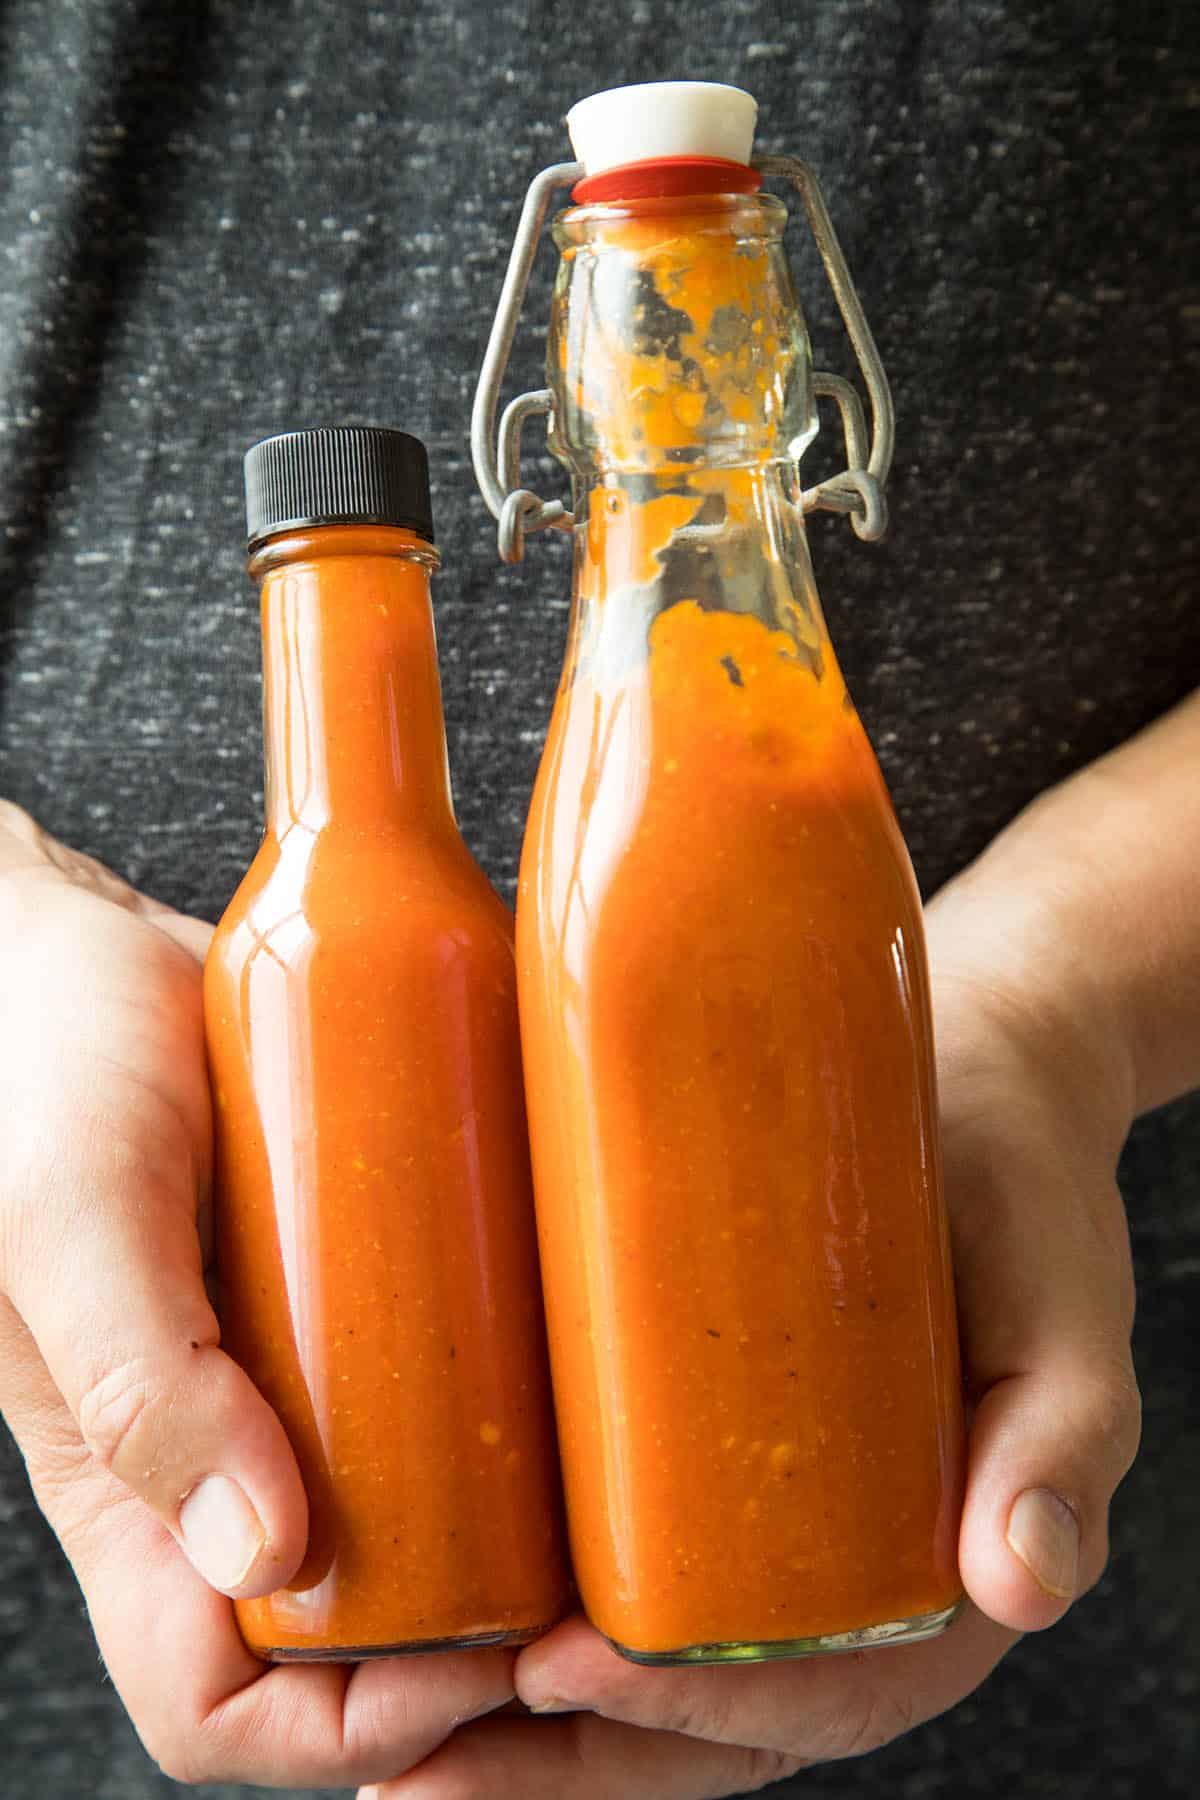
A homemade hot sauce recipe made with roasted red jalapeno peppers, garlic, tomato and red wine vinegar. This is one of the most addicting hot sauces I’ve ever made. I already need another batch!
Happy New Year, friends! This is a very important post. It is the first of 2016, a brand new year, and there were so many possible recipes for us to post. As food bloggers, we think about food ALL THE TIME. It’s just what we do, and we LOVE it. We’re sure you could tell.
But! What to post?
We considered posting something light and healthy to kick off the new year with good eating habits. Nothing wrong with that. We like the watch our waistlines and what better time to recommit?
We also considered posting a Blood Mary recipe. Patty is an UH-MAZING Bloody Mary mixologist. Believe me when I say that. She has some homemade mixes coming up very soon. Can’t wait for those! See Spicy Mexican Style Bloody Mary Recipe. Oh yeah!
In the end, we decided that the best recipe to kick off 2016 with a BANG is this – Roasted Red Jalapeno Pepper Hot Sauce.
Yes!
A great homemade hot sauce epitomizes everything we are at Chili Pepper Madness. Of course we love chili peppers, but we love everything bold and spicy and zingy and zesty and delicious! Insert more positive foodie words here.
Seriously! We love it.
This is one of my personal favorite hot sauces. It’s SO simple, a Louisiana style sauce with a few extra ingredients added in to round it out.
Take a peek at it. YUM!
Let’s talk about how we make it, shall we?
HOW TO MAKE THIS HOMEMADE HOT SAUCE – THE RECIPE METHOD
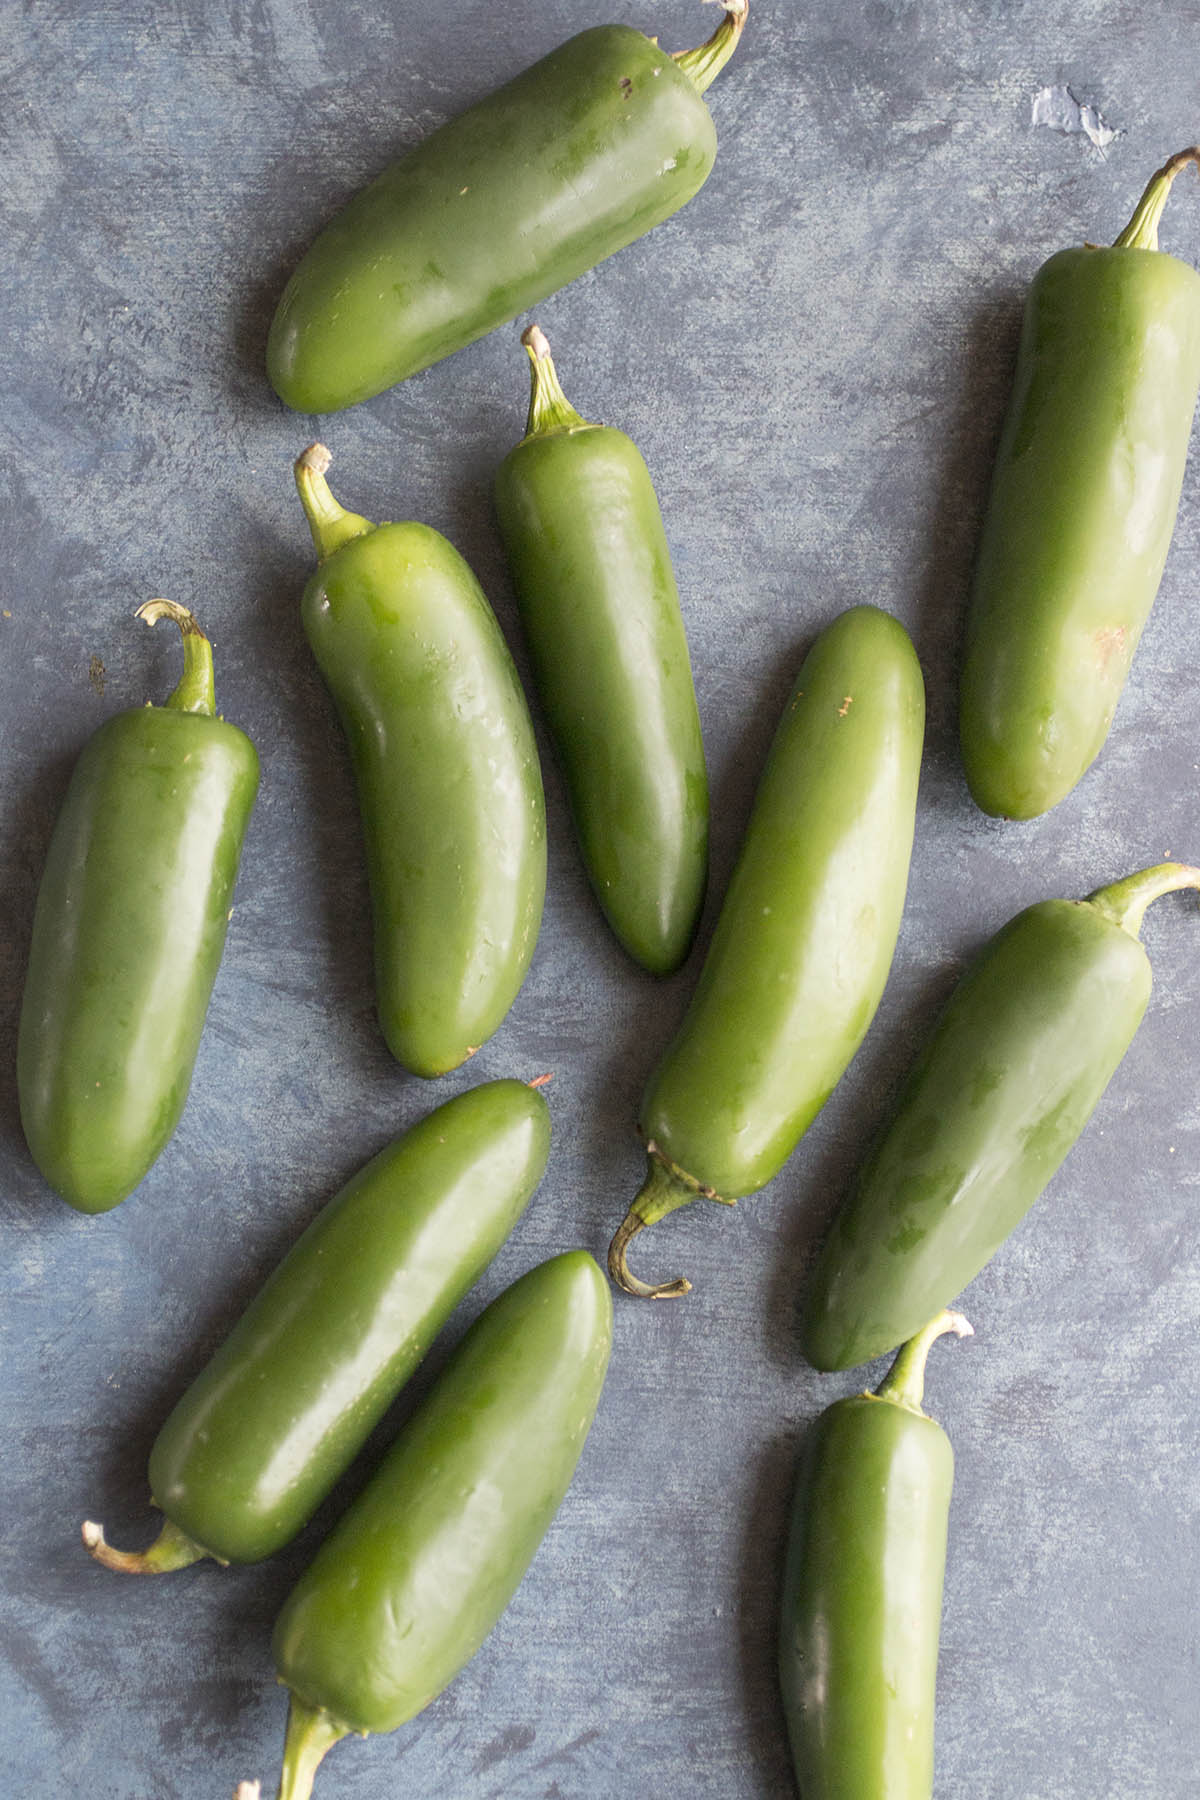
First we’re going to roast our peppers. Heat your oven to 350 degrees. Slice the jalapeno peppers in half lengthwise and remove the stems. Set them onto a lightly oiled baking sheet and bake 20-25 minutes, or until the skins blister.
Remove the peppers and cover with aluminum foil or a towel to allow them to steam. Peel off the skins and toss them, or keep them to make this Homemade Roasted Jalapeno Pepper Seasoning. So good!
Set the peppers into a food processor.
Next, heat a small pan to medium heat and add chopped onion and garlic with a splash of olive oil. Cook about 5 minutes to soften.
Add the remaining ingredients and heat through. Into the food processor they go.
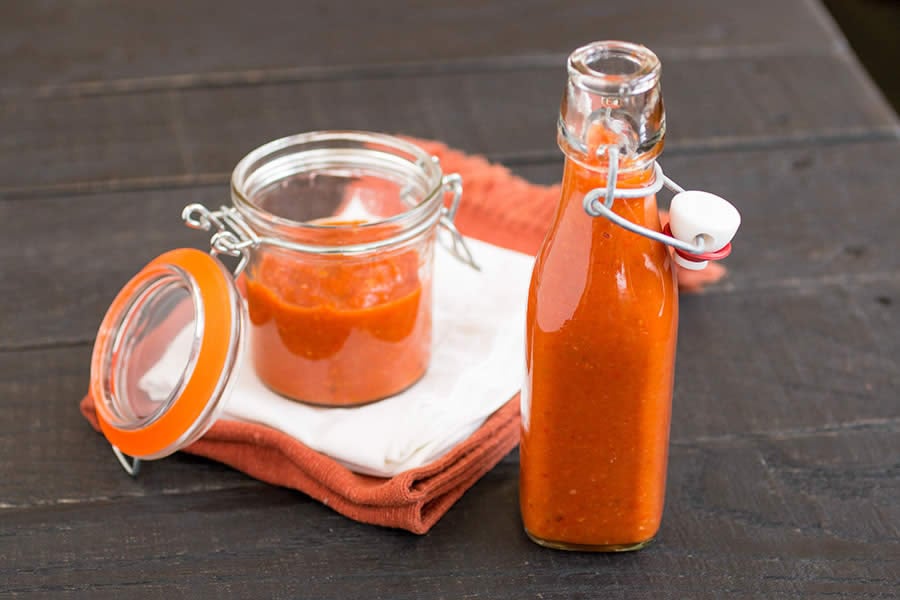
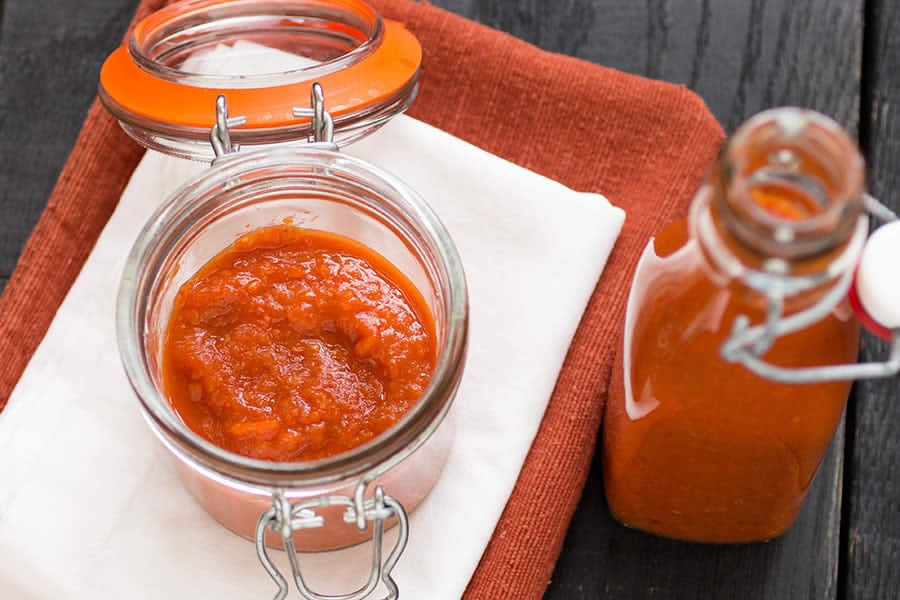
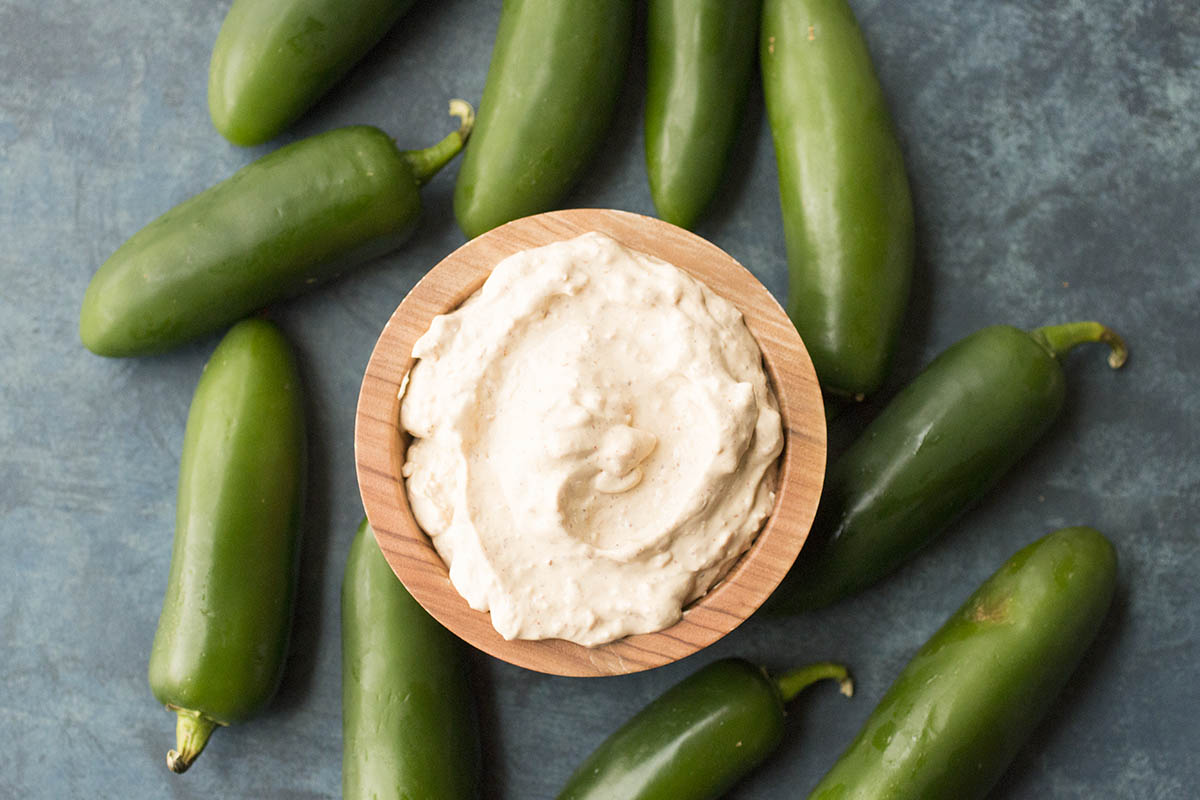
Process the sauce until smooth. You can also use a food mill if you’d like your sauce to be thick and consistent. Test for salt and serve!
RECIPE NOTES
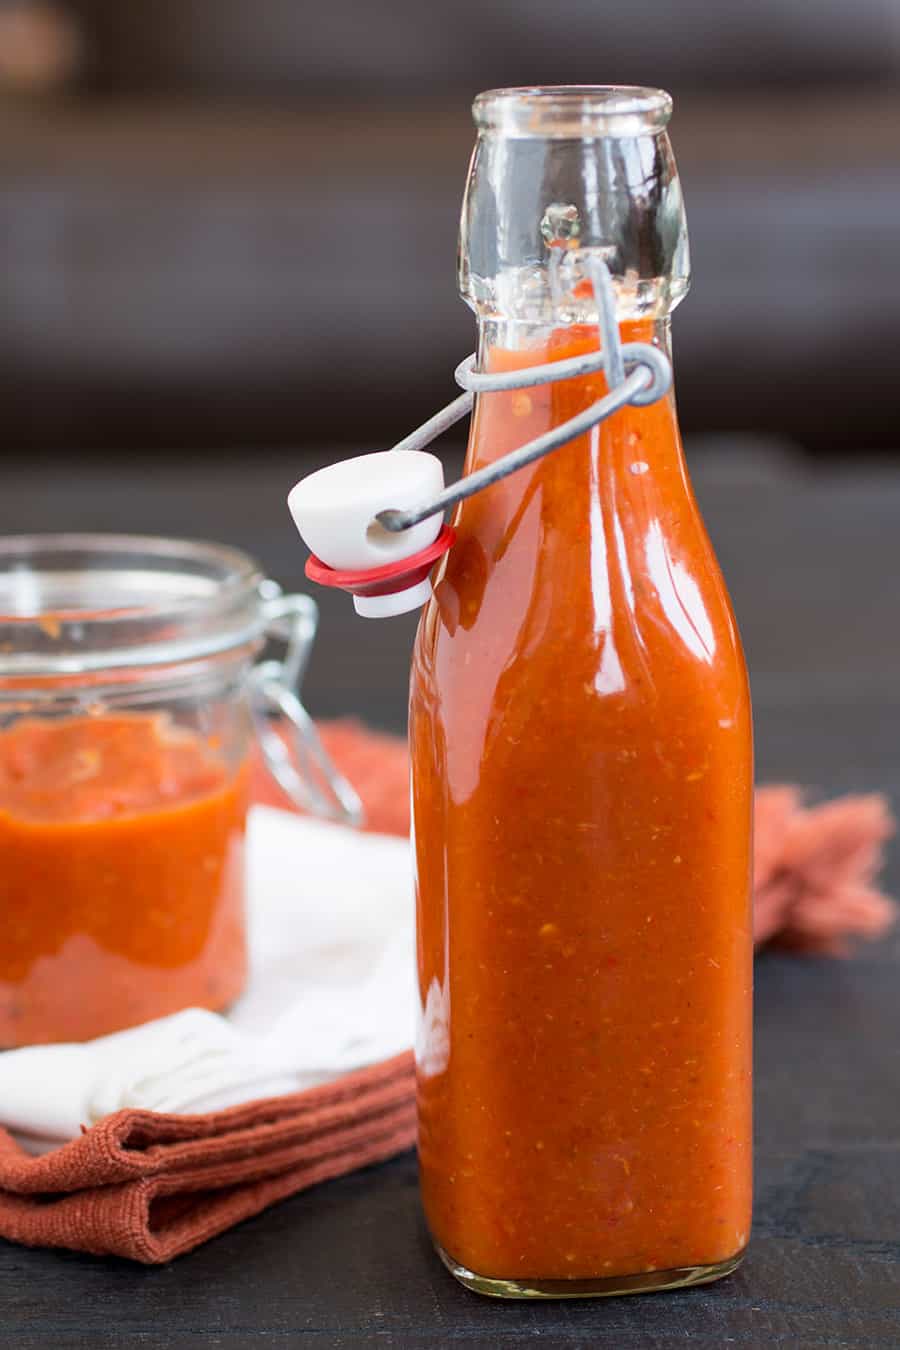
I made mine a bit thicker so that it drips slowly from the bottle. It will coat the back of a spoon or stick to a chip if that is how you want to enjoy it. You can serve it as a finisher sauce to dazzle up just about anything savory, or you can use it to swirl into soups or stews to bring home the flavor.
Even consider this homemade hot sauce recipe as a starter for pasta sauces or even for dips. TOTALLY one my faves.
If you like your hot sauce a bit thinner, add in a bit of water or a bit more red wine vinegar. Just be careful not to overdo the balance of the vinegar flavor.
I like it thicker, but it works thinned out as well, and it will last longer.
Roasted Red Jalapeno Pepper Hot Sauce Recipe Bonus!
It’s a great thing to make foods from scratch, isn’t it? It is something we strive for here at Chili Pepper Madness, to work with fresh, healthy foods and turn them into bold and powerful flavors.
Ring in the New Year right with your own homemade hot sauce. Start here! Enjoy.
SAFETY ADVICE
When working with very hot chili peppers peppers, including superhot chili peppers, it is important to wear gloves when handling the peppers both in raw and dried forms. The oils can get on your skin and cause burning sensations. See above.
Need help? How to Stop the Chili Pepper Burn On Your Skin.
Also, pepper fumes may get into the air if you are not working in a well ventilated room, so you may want to wear a mask and possibly eye goggles.
FREQUENTLY ASKED HOT SAUCE QUESTIONS
Here are answers to some of the most common questions I get on other sauces:
HOW LONG WILL THIS SAUCE KEEP?
It should keep a few months easily in the fridge, or even longer. It’s all about the acidity. To be technical, target level ph for shelf stable foods is below 4.6 ph, but should probably be lower for home cooks, around 4.0 or so, to account for errors. If you’re concerned, add more vinegar to lower the ph. Sauces made with fermented chili peppers will last even longer.
CAN I PROCESS THIS HOT SAUCE FOR LONGER STORAGE?
Absolutely. Just be sure to use proper canning/jarring safety procedures.
WHAT SHOULD I DO WITH HOT SAUCE?
Aside from drizzling it over anything you please, here’s a post I did about How to Cook with Hot Sauce. As if you need even MORE reasons to eat hot sauce. I hope you find it helpful!
CHECK OUT THESE RELATED RECIPES:
Check out more Hot Sauce Recipes or learn more about How to Make Hot Sauce.
If you try this recipe, please let us know! Leave a comment, rate it and tag a photo #ChiliPepperMadness on Instagram so we can take a look. I always love to see all of your spicy inspirations. Thanks! — Mike H.


 If you like like jalapeno poppers, don’t forget to check out my cookbook –


