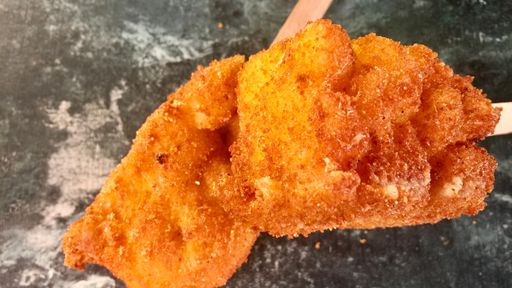
Jalapeno Cornbread Mac and Cheese Pops
By: Carla Hall
(submitted Photo)
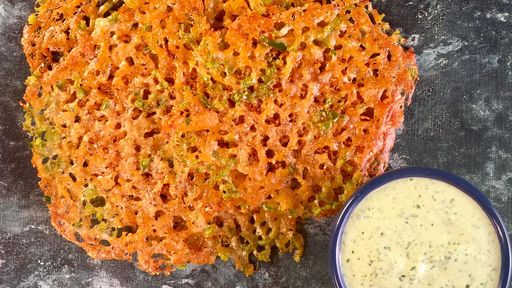
Enjoy Jalapeno Cornbread Mac and Cheese Pops!
Mac and Cheese Pops:
1 pound Cavatappi noodles
3 tablespoons unsalted butter
3 tablespoons all-purpose flour
3 cups whole milk
1 pound sharp cheddar cheese (grated)
1/2 cup Parmesan cheese (freshly grated)
Kosher salt and freshly ground black pepper (to taste)
Cornbread Crumbs:
2 cups cornmeal
3 and 1/2 teaspoons baking powder
3/4 teaspoon Kosher salt
3 large eggs
1 cup sour cream
3/4 cup vegetable oil (plus 2 tablespoons, divided)
1 jalapeno (seeded, minced)
To Assemble:
1 cup all-purpose flour
3 large eggs (beaten)
1 cup Parmesan cheese (freshly grated)
vegetable oil (for frying)
Kosher salt and freshly ground black pepper (to taste)
32 popsicle sticks
Directions
For the Mac and Cheese Pops: Line a 9×13-inch casserole dish with parchment paper, allowing parchment to hang off of the sides.
Bring a large pot of salted water to boil and cook noodles 2 minutes less than package instructions direct. Drain and remove to a large bowl. Set aside.
In a large saucepan over medium heat, melt the butter. Whisk in the flour and cook for 1-2 minutes. Add the milk and whisk continuously until smooth. Reduce heat to low and cook until slightly thickened, about 3-4 minutes. Add the cheddar cheese in batches, and whisk continuously until melted. Whisk in the parmesan cheese and season with salt and pepper to taste.
Pour the cheese sauce on top of the bowl of noodles and stir to combine. Remove to prepared baking dish and spread into an even layer. Allow to cool to room temperature, cover with plastic and place in the freezer for at least 6 hours or overnight.
For the Cornbread Crumbs: Preheat the oven to 375ºF.
In a large bowl, add the cornmeal, baking powder, and salt, and whisk to combine. Set aside.
In a medium bowl, whisk together eggs, sour cream, 3/4 cup of oil, and jalapeno. Whisk the cornmeal mixture into in the egg mixture, continuing to whisk until fully combined.
In a 10-inch cast-iron skillet over medium heat, warm remaining 2 tablespoons of oil. Pour the cornbread batter into the skillet and cook for 2 minutes, until the mixture begins to bubble. Transfer
to the oven and bake until golden brown and an inserted toothpick comes out clean, about 20-25 minutes. Remove from the oven and allow to cool completely. Leave the oven on.
Once cooled, cut the cornbread into 4 pieces. In batches, transfer the cornbread to the bowl of a food processor, fitted with the blade attachment. Pulse until cornbread is finely ground and remove to a baking sheet. Repeat until all cornbread is ground. Transfer baking sheet to the oven and cook until breadcrumbs are golden brown and toasted, about 2-3 minutes. Remove from the oven and allow to cool completely.
To Assemble: Fill a tabletop fryer with vegetable oil and preheat to 325ºF.
Remove the mac and cheese from the freezer, and using the overhanging parchment, remove the mac and cheese from the casserole dish to a clean work surface. Cut the mac and cheese into 2-inch x 1 and 1/2-inch rectangles. Set aside until ready to bread.
In a large shallow baking dish, add the flour and season with salt and pepper, whisking to combine. In a second baking dish, add the eggs. In a final shallow baking dish, add the breadcrumbs and Parmesan cheese, whisking to combine. Dredge each popsicle in the flour, then the egg, and finishing in the breadcrumb mixture, coating all sides. Place on a baking sheet and return to the freezer for 30 minutes more.
Remove pops from the freezer and gently place in the preheated oil and fry until golden brown, about 3-4 minutes on each side. Remove to a paper towel-lined plate to drain and cool slightly. Insert popsicle sticks into a shorter edge of each mac and cheese pop. Repeat until all popsicles are breaded and fried. Enjoy!